Easter Egg 3D Layered SVG Cut File
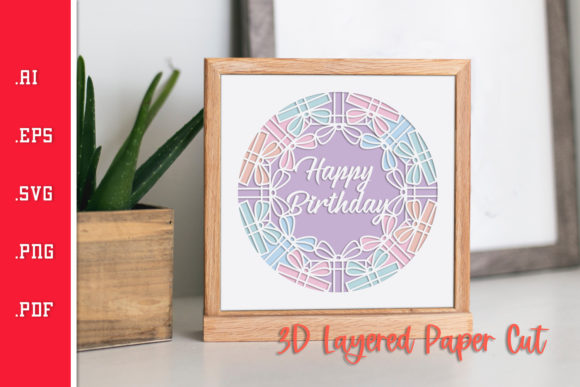
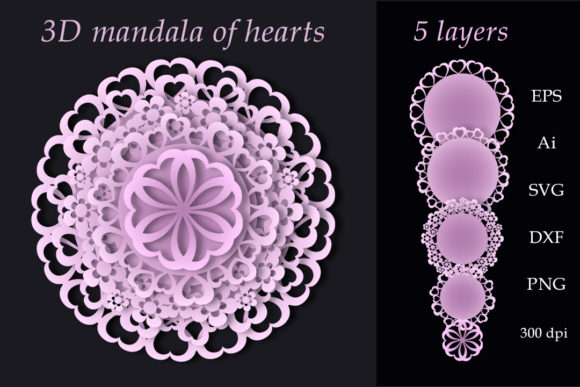
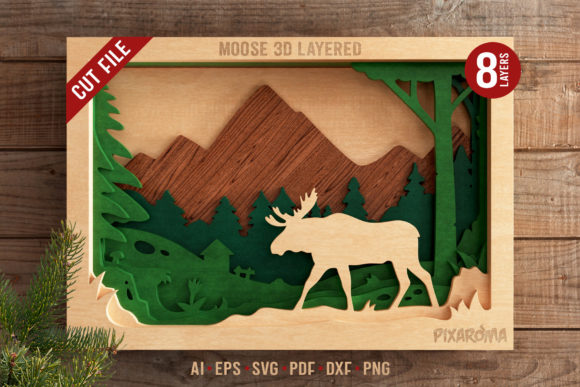
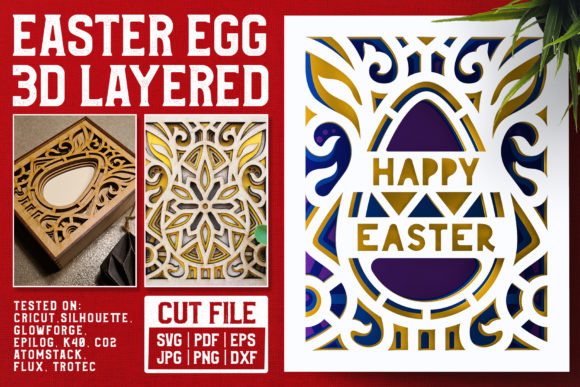
If you are looking to add a touch of springtime magic to your home or create a unique gift, the Easter Egg 3D Layered SVG Cut File offers a versatile solution for crafters of all skill levels. This digital asset is designed to transform flat materials into stunning three-dimensional artwork. Whether you intend to build a standalone shadowbox, a glowing lightbox, or a framed piece that stands out on a wall, this file provides the blueprint for success. The design features five distinct layers, allowing for intricate depth and detail that flat designs simply cannot achieve.
However, owning the file is only half the battle. Many creators rush into cutting their projects without understanding the critical role of spacing and material selection. Without the proper technique, a project intended to have dramatic depth can end up looking like a flattened mess. To ensure your final product matches the high-quality visuals you see in the preview, it is essential to understand the mechanics behind layering and the common pitfalls that can ruin the aesthetic.
The Importance of Spacing in 3D Paper Crafts
The defining characteristic of this Easter Egg design is its dimensionality. When you download the Easter Egg 3D Layered SVG Cut File, you receive a set of separate paths that must be cut individually. The magic happens when these layers are stacked. A frequent mistake beginners make is applying glue directly between every single layer. While this seems like the most secure method, it effectively squashes the layers together, eliminating the air gap required for shadows and depth.
To achieve the true 3D effect, you must use spacers. For paper and cardstock projects, double-sided foam dots, adhesive tabs, or strips of tape are the industry standard. These small spacers lift each layer slightly off the one below it, creating a physical separation that allows light to play across the surfaces. If you skip this step, the result is a flat silhouette that lacks the visual impact of a layered mandala. The difference between a flat look and a dimensional masterpiece often comes down to just a few millimeters of space between the layers.
Selecting the Right Materials for Your Project
One of the greatest strengths of this digital file is its adaptability. It works beautifully with cardstock, but it also scales well to wood, plywood, acrylic, and other sturdy substrates. However, using the wrong material for the wrong application can lead to structural issues. For instance, if you attempt to cut very thin cardstock for a large shadowbox, the layers might warp under their own weight or fail to hold the tension needed for stacking.
When working with wood or thicker materials like plywood, the rules change slightly. You cannot rely on sticky foam dots alone to hold heavy pieces together securely. Instead, consider using acrylic blocks, wooden spacers, or specialized mounting hardware. Using wood spacers not only supports the weight of the layers but also adds a different texture to the final piece. Be aware that thicker materials require more robust adhesives or mechanical fasteners to prevent the structure from collapsing over time. Always test your material choice on a small scrap piece before committing to the full project.
Common Mistakes to Avoid During Assembly
Beyond material selection, the assembly process requires patience and precision. One of the most overlooked details is the order of operations. The file includes a guide, but it is easy to lose track of which layer goes where, especially when dealing with five separate files. If you stack the layers in the wrong sequence, the focal point of the egg may be obscured, or the symmetry could be lost entirely. This error often leads to frustration and wasted materials, as re-cutting expensive wood or specialty paper is costly.
Another common error involves the alignment of the layers. Because the design is symmetrical, even a slight misalignment during the gluing or taping process can throw off the entire composition. When using foam dots, it is crucial to place them consistently. Some creators apply dots randomly, resulting in an uneven surface that looks amateurish. Aim for a uniform distribution of spacers to ensure the layers sit perfectly parallel to one another. Additionally, avoid using excessive glue near the edges, as excess adhesive can seep out and stain the visible surfaces of your cardstock or wood, ruining the clean lines of the design.
Maximizing the Visual Impact
Once your layers are assembled, the presentation matters just as much as the construction. The finished product looks great as is, but framing it inside a complementary shadow box can elevate the artwork significantly. A shadow box provides a dark background that enhances the contrast of the lighter layers, making the colors pop and the depth more apparent. Alternatively, placing the project inside a lightbox can turn the Easter Egg into a glowing centerpiece for your holiday decor.
Consider the lighting environment where the piece will hang. Natural light can cast dynamic shadows through the layers throughout the day, adding a living element to the art. If you are selling these items as part of a small business or offering them at a market, the packaging should reflect the quality of the work. A poorly packaged item can diminish the perceived value, even if the craftsmanship is excellent. Ensure your final product is protected from dust and moisture, especially if you used paper products that are susceptible to humidity.
What to Check Before You Start Cutting
Before you fire up your cutting machine, take a moment to review the file specifications. Verify that the file format is compatible with your software, whether it is Silhouette Studio, Cricut Design Space, or Adobe Illustrator. Different software versions handle layer grouping differently, so ensure you can isolate each layer for individual cutting. Also, check the scale of the design relative to your available materials. If you plan to use a specific size of plywood, ensure the file dimensions match your budget and storage constraints.
It is also wise to gather all your tools and supplies before beginning the cutting phase. Having your foam dots, glue, spacers, and backing board ready prevents interruptions that can lead to mistakes. Rushing the preparation phase is a surefire way to compromise the quality of the final result. By taking the time to plan and execute with care, you will create a beautiful 3D Easter Egg that stands the test of time and impresses everyone who sees it.
The Easter Egg 3D Layered SVG Cut File is more than just a digital download; it is a template for creativity. By avoiding the common traps of direct gluing, incorrect layer ordering, and poor material choices, you can unlock the full potential of this design. Whether you are a hobbyist looking for a fun weekend project or a professional creator expanding your product line, paying attention to these details will ensure your work looks polished, professional, and truly three-dimensional.